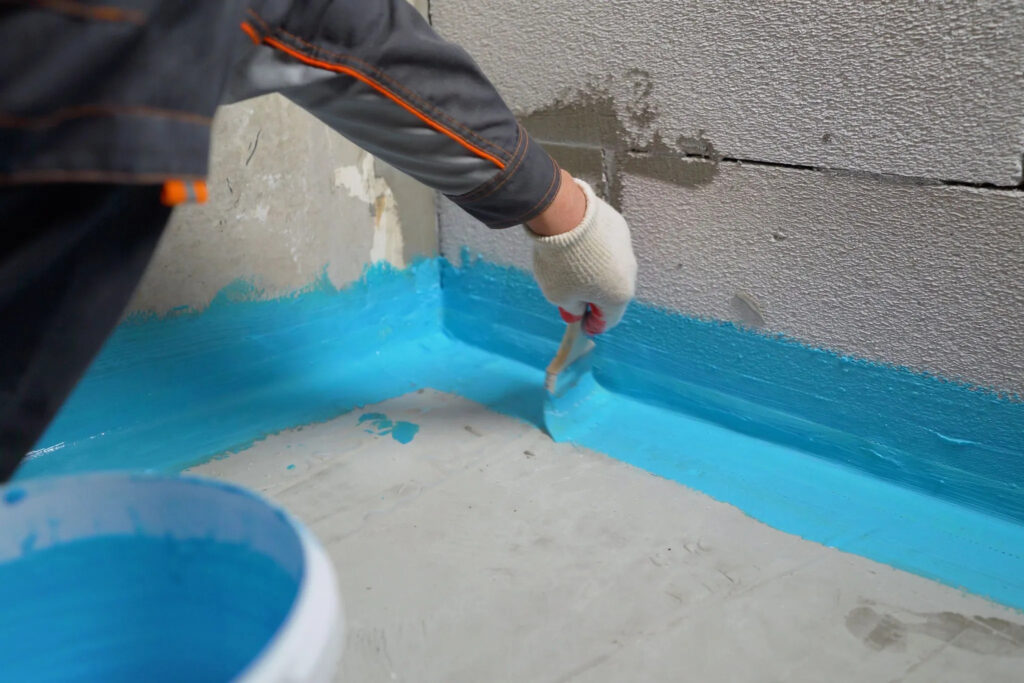
Learn about the Application of Waterproofing Paint on Interior Walls
Waterproofing paint is a versatile solution that provides a protective barrier against water damage on interior walls. Whether you are dealing with a leaky basement or simply want to prevent moisture from seeping into your home, applying waterproofing paint can be an effective and cost-efficient solution. In this article, we will explore the benefits of using waterproofing paint and provide a step-by-step guide on how to apply it on your interior walls.

The Benefits of Waterproofing Paint
Water damage can cause a range of problems for homeowners, including mold growth, structural damage, and deterioration of the paint and finishes on the walls. Waterproofing paint offers several benefits that can help protect your home and enhance its longevity. Here are some key advantages:
-
Moisture Protection: Waterproofing paint forms a protective barrier on the walls that prevents moisture from seeping through. This is particularly useful in areas with high humidity or prone to water leaks.
-
Mold Prevention: Moisture is a breeding ground for mold and mildew. Waterproofing paint inhibits mold growth, protecting your home and your health.
-
Enhanced Durability: By sealing the walls, waterproofing paint enhances the durability of the surface and creates a more robust barrier against wear and tear.
-
Improved Air Quality: Preventing moisture build-up not only helps combat mold growth but also improves the overall air quality in your home, making it healthier and more comfortable.
Step-by-Step Guide to Applying Waterproofing Paint
Now that we understand the benefits of waterproofing paint, let’s delve into the step-by-step process of applying it to your interior walls:
-
Prepare the Surface: Start by cleaning the walls thoroughly to remove any dirt, grease, or loose paint. Use a mild detergent and water to scrub the surface clean. Rinse off the soap residue and allow the walls to dry completely.
-
Repair Any Damages: Inspect the walls for cracks, holes, or any other damage. Fill these imperfections with a suitable patching compound and ensure a smooth and even surface. Allow the repairs to dry according to the manufacturer’s instructions.
-
Choose the Right Paint: Select a high-quality waterproofing paint that is specifically designed for interior walls. Consider factors such as the level of waterproofing needed and the aesthetic finish you desire.
-
Apply Primer (if necessary): In some cases, a primer may be required. Consult the paint manufacturer’s instructions and apply the primer to the prepared walls. Allow the primer to dry completely before moving on to the next step.
-
Stir the Paint: Use a paint stirrer or a wooden stick to mix the waterproofing paint thoroughly. This ensures an even consistency and maximizes its effectiveness.
-
Start Painting: Begin by cutting in the corners and edges of the walls using a brush. Once you have completed these areas, use a roller to apply the waterproofing paint to the rest of the wall. Apply thin, even coats, and allow each layer to dry completely before applying the next one. Follow the manufacturer’s instructions for the recommended drying time.
-
Apply Multiple Coats: To ensure maximum protection, it is advisable to apply multiple coats of waterproofing paint. This helps create a more robust barrier against moisture and extends the life of the paint job.
-
Clean Up: After completing the painting process, clean your brushes and rollers with soap and water. Dispose of any leftover paint according to local regulations.
Frequently Asked Questions (FAQs)
Q: Can I apply waterproofing paint over existing paint?
A: Yes, in most cases, you can apply waterproofing paint over existing paint. However, it is important to ensure that the existing paint is clean, smooth, and free from any loose or flaking areas.
Q: Is waterproofing paint odorless?
A: No, some waterproofing paints may have a distinct odor. It is recommended to work in a well-ventilated area and use appropriate personal protective equipment, such as a mask, to minimize exposure to fumes.
Q: How long does waterproofing paint last?
A: The durability of waterproofing paint can vary depending on factors such as the quality of the product, the surface conditions, and the level of moisture present. Generally, good-quality waterproofing paint can last for several years.
Q: Can I paint over waterproofing paint with regular paint?
A: Yes, once the waterproofing paint has dried and cured, you can paint over it with regular paint if desired. However, keep in mind that the waterproofing properties may be compromised.
Conclusion
Waterproofing paint is an excellent solution for protecting your interior walls from moisture damage. By creating a protective barrier, it prevents water infiltration and helps maintain the structural integrity of your home. By following the step-by-step guide provided in this article, you can effectively apply waterproofing paint and enjoy the benefits of a protected and durable interior space. Don’t forget to choose the right paint, prepare the surface properly, and apply multiple coats for optimal results.
