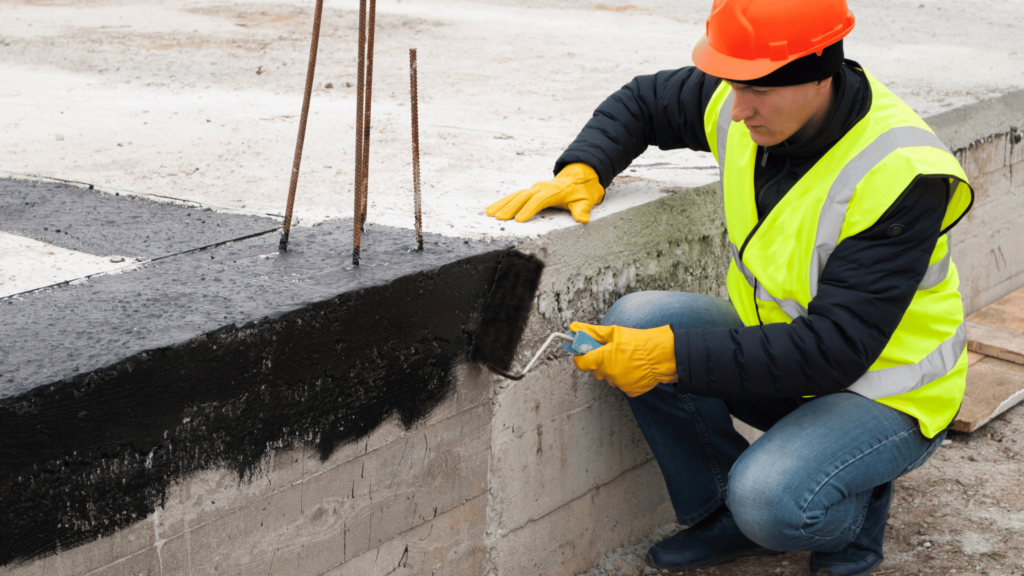
Basement waterproofing is an essential process that ensures the protection of your basement from water damage. However, there may come a time when you need to remove the waterproofing from your basement ceilings for various reasons, such as renovation or repair work. In this article, we will explore effective techniques for removing waterproofing from basement ceilings and provide you with valuable insights to carry out this task efficiently.
Understanding Basement Waterproofing
Before we delve into the techniques for removing basement ceiling waterproofing, let’s understand the basics of basement waterproofing. Basement waterproofing is a process that involves applying a waterproof coating or sealant to the basement walls and ceilings to prevent the infiltration of water. This coating acts as a barrier, ensuring a dry and moisture-free environment in your basement.
There are several types of waterproofing materials available in the market, including waterproof paints, epoxy coatings, cementitious coatings, and rubber membranes. These materials provide a reliable solution to keep your basement dry and protected against water damage.
Reasons for Removing Waterproofing from Basement Ceilings
Although basement waterproofing is necessary for maintaining a dry basement, there are instances where you may need to remove the waterproofing from your basement ceilings. Some common reasons for removing basement ceiling waterproofing include:
- Renovation: If you plan to remodel your basement, removing the existing waterproofing from the basement ceilings is essential to create a clean and uniform surface for the new finishing materials.
- Water Damage: In some cases, water damage may occur in your basement due to Plumbing issues or leaks. Removing the waterproofing allows you to identify and address the source of the water damage effectively.
- Repair Work: When repairing or replacing pipes, electrical wiring, or HVAC systems in your basement, removing the waterproofing helps in accessing the affected areas more efficiently.
Techniques for Removing Waterproofing from Basement Ceilings
Removing waterproofing from basement ceilings can be a challenging task, but with the right techniques and tools, it can be done effectively. Here are some effective techniques to consider:
Technique 1: Mechanical Removal
Mechanical removal involves physically scraping off the waterproofing material from the basement ceilings. This technique is suitable for basement waterproofing materials like paint or coatings that are adhered to the surface.
- Prepare the Area: Before starting the removal process, ensure you protect the surrounding areas from any damage. Cover furniture, flooring, and walls with plastic sheets or drop cloths.
- Scrape the Waterproofing Material: Use a putty knife or scraper to gently scrape off the waterproofing material from the ceiling surface. Start from one corner and work your way across the entire ceiling.
- Collect the Scrapings: As you scrape off the material, collect the scrapings in a bag or container for disposal. This prevents creating a mess and makes cleaning up easier.
- Clean the Surface: Once the majority of the waterproofing material is removed, use a damp cloth to wipe the ceiling surface and remove any residue. Allow the surface to dry completely before proceeding.
Technique 2: Chemical Removal
Chemical removal involves using specific chemicals or solvents to dissolve and remove the waterproofing material. This technique is suitable for waterproofing materials like adhesives or sealants that are difficult to remove mechanically.
- Select the Appropriate Chemical: Consult with a professional or the manufacturer of the waterproofing material to determine the best chemical for removal. Ensure to choose a chemical that is safe for your basement environment.
- Protect Yourself: It is essential to protect yourself while working with chemicals. Wear protective gloves, goggles, and a mask to prevent any contact with the chemical or inhaling its fumes.
- Apply the Chemical: Following the manufacturer’s instructions, apply the chemical to the waterproofing material on the ceiling. Allow the chemical to penetrate and dissolve the material for the recommended time.
- Scrape Off the Material: Once the waterproofing material is loosened or dissolved, use a putty knife or scraper to gently scrape it off from the ceiling surface. Take caution not to damage the underlying structure.
- Clean the Surface: After removing the material, clean the ceiling surface with water and a mild detergent to eliminate any residue of the chemical. Rinse thoroughly and allow the surface to dry completely.
FAQs
Q: Can I remove basement ceiling waterproofing without professional help?
A: Yes, you can remove basement ceiling waterproofing without professional help by following the appropriate techniques and safety measures outlined in this article. However, if you are unsure or uncomfortable with the process, it is advisable to seek professional assistance.
Q: How long does it take to remove waterproofing from basement ceilings?
A: The time required to remove waterproofing from basement ceilings varies depending on the type and thickness of the waterproofing material, as well as the size of the area. It can take anywhere from a few hours to several days to complete the removal process.
Q: How can I ensure a clean and smooth surface after removing the waterproofing?
A: To ensure a clean and smooth surface after removing the waterproofing, thoroughly clean the ceiling surface and remove any residue or loose material. Sanding the surface lightly can help to achieve a smoother finish before applying any new coatings or finishes.
Conclusion
Removing waterproofing from basement ceilings allows you to address renovation, repair, or water damage concerns effectively. Whether you choose mechanical removal or chemical removal, it is essential to follow proper techniques and safety measures. Remember to protect yourself and the surrounding areas during the removal process. With patience and diligence, you can successfully remove the waterproofing and create a clean surface for further basement improvements or repairs.

